
Direct API integration is crucial because:
- It allows precise control over data chunking and parsing
- Enables custom relevance algorithms tailored to your domain
- Provides hybrid search capabilities (lexical, semantic, and vector)
- Maintains security through Azure’s robust access controls
- Offers cost-effectiveness compared to full custom engine solutions
High-Level Steps to Configure Azure AI Search with Blob Storage
Create Azure AI Search service (Standard tier recommended)
Upload documents to Blob Storage container (e.g., benefits PDFs/handbooks)
Connect data source (Blob Storage → AI Search)
Add a skillset to chunk and embed files
Use Azure AI Search skills to split documents into chunks and generate vector embeddings. For example, use aSplitSkillto break documents into pages and anAzureOpenAIEmbeddingSkillto create embeddings for each chunk. This enables more accurate and efficient semantic search.Enable semantic search (Optional: for better relevance)
Test queries in Search Explorer
Copy endpoint/key for Copilot integration
{ |
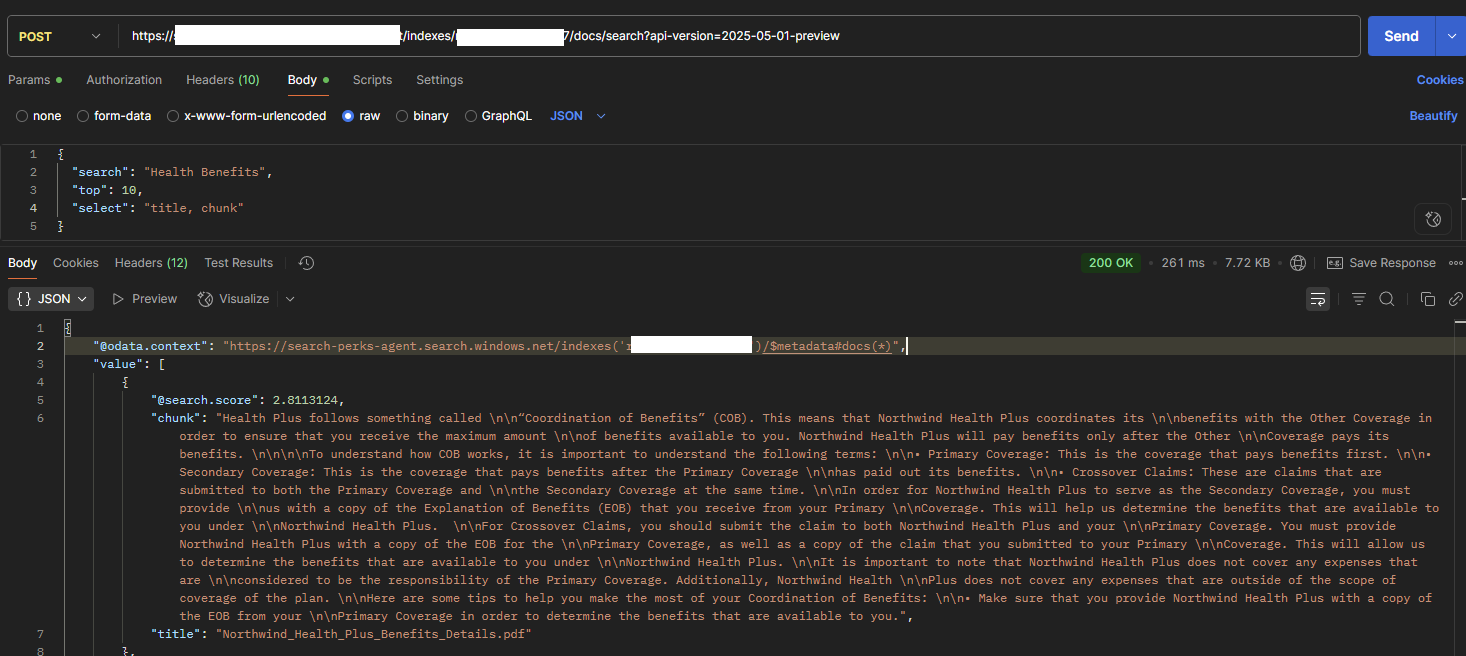
Test Your Azure AI Search Query with Postman
Before integrating your Azure AI Search index with Copilot or any other application, it’s a best practice to test your search endpoint using tools like Postman. This ensures your index is returning the expected results and your API is functioning correctly.
You can use the following sample POST request in Postman to validate your setup:
Endpoint:https://${AISearchServerURL}/indexes/${indexname}/docs/search?api-version=2025-05-01-preview
Headers:
api-key: <your-search-service-admin-key>Content-Type: application/json
Body:
{ |
Validate Azure AI Search Results with Postman
Integrating Azure AI Search API with Microsoft Copilot Declarative Agent using TypeSpec
TypeSpec provides a streamlined way to define your API contracts and generate all necessary configuration files automatically. Here’s how to build the complete solution:
/perks-agent |
To generate the files needed for a Copilot declarative agent API-based plugin, you need two main TypeSpec files: main.tsp and actions-search-api.tsp. Below is a description of each file, their purpose, and example content.
1.main.tsp
The main.tsp file defines the overall agent, its instructions, and how it interacts with the Azure AI Search API actions. It sets up the agent’s metadata, instructions for handling user queries, and links to the actions defined in actions-search-api.tsp.
Example:
import "@typespec/http"; |
2. actions-search-api.tsp
This file defines the Azure AI Search API actions, including the endpoint, authentication, request/response models, and metadata for Copilot. It describes how the agent will interact with the Azure AI Search REST API.
import "@typespec/http"; |
3. API Key Authentication
To secure your Azure AI Search calls, register an API key in the Teams Developer Portal. You can do this via the Agents Toolkit in VS Code or manually:
Open the Teams Developer Portal
Navigate to Tools → API key registration.Create a new key
- If you have no registrations: click Create an API key.
- Otherwise: click New API key.
- Select Add secret, then paste your API key.
Fill in registration details
- API key name: A friendly identifier (e.g., “PerksAgentKey”).
- Base URL: Your API’s base URL (must match an entry in your OpenAPI
serversarray). - Target tenant: Restrict to your home tenant if desired.
- Target Teams App: Choose Any Teams app, or bind to your published app’s ID.
Save
- Completing registration returns an API key registration ID. Copy the API Key registration ID
- Add the API key registration ID in your envrionment file as below
APIKEYAUTH_REGISTRATION_ID=19de18e2-c0a6-40e9-8257-dddddd
To secure your Azure AI Search calls, use the TypeSpec @useAuth decorator with ApiKeyAuth. For example:
(ApiKeyAuth<ApiKeyLocation.header, "api-key">) |
Above decorate will generate the following OpenAPI securitySchemes entry and global security requirement:
components: |
type: apiKey specifies the scheme.in: header tells clients to send the key in an HTTP header.name: api-key is the header name Azure AI Search expects.
4. Automatically Generated Files
After compiling your TypeSpec project, the following files will be generated in the appPackage/ directory:
appPackage/ |
| File | Description |
|---|---|
| declarativeagent.json | Defines the agent and its capabilities for Copilot. |
| aisearchapiactions-apiplugin.json | Describes the API plugin for Copilot integration. |
| aisearchapiactions-openapi.yml | The OpenAPI specification for your Azure AI Search API actions. |
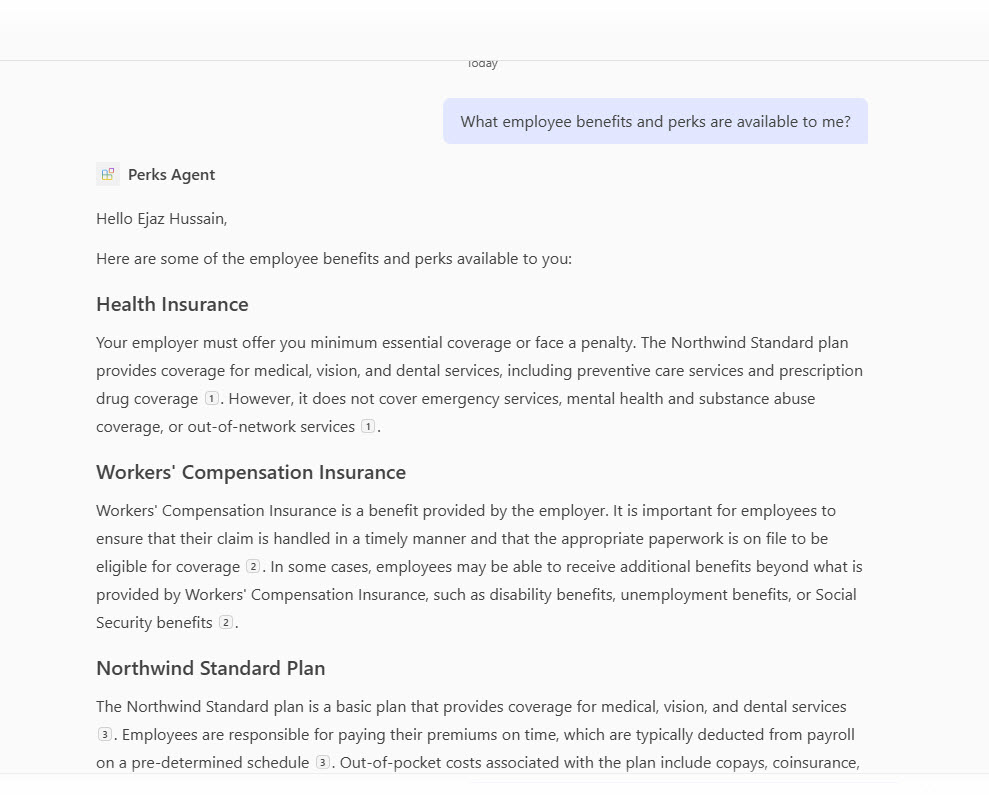
Perks Agent Screenshot
Important Note
These files are needed to register and deploy your API plugin to a Microsoft Copilot declarative agent.